


Welcome, fellow builders and creators! I'm Allen, and from my perspective as someone deeply involved in a factory with 7 production lines in China, specializing in Cordless Lithium Power Tools and Equipment, I've seen firsthand how the right tools can transform a challenging project into a rewarding experience. Today, we're diving into two fascinating pieces of technology that are becoming increasingly popular for DIY enthusiasts and professionals alike: the laser level and the laser cutter. If you're planning to build or customize a backyard shed, or tackle any project demanding accuracy, this article is for you. We'll explore how these laser tools can bring unparalleled precision to your work, making complex tasks simpler and opening up new avenues for creativity, including amazing laser-cut designs. Stick around, and I'll share insights that will help you ensure your projects are not just completed, but masterfully executed. This comprehensive guide will cover everything from the basics to advanced tips, making it worth your while.
What is a Laser Level, and Why is it Truly Indispensable for My Backyard Shed Project?
So, you're thinking about building a backyard shed. That's fantastic! It's a great way to add storage or create a new workspace. But before you even think about hammering the first nail, let's talk about something super important: making sure everything is straight and, well, level. This is where a laser level comes in. Imagine a tool that shoots out a perfectly straight laser beam – either as a dot or a laser line – across your entire work area. That's what a laser level does. It's like having a super-accurate, infinitely long straight edge. For a DIY project like a shed, this tool isn't just a luxury; I'd say it's pretty much indispensable if you care about precision and want results that look professional.
Why is it so crucial? Well, think about your shed's foundation. If it's not perfectly level, your whole shed could end up slanted. Walls might lean, doors and windows might not fit right, and the whole structure could be weaker. A laser level helps you ensure that your foundation is spot on from the get-go. Then, when you're putting up the walls, you can use the laser to make sure they're perfectly vertical (plumb). And for things like shelves or cabinet installations inside your shed? A laser level makes it a breeze to get them perfectly horizontal. It takes the guesswork out of leveling and saves you a ton of time compared to old-school methods like bubble levels and string lines, especially over longer distances. Using a laser means you're working smarter, not harder, to achieve that high-quality finish.
As someone who oversees the manufacturing of tools designed for efficiency and accuracy, I can tell you that investing in a good laser level pays off. It helps prevent costly mistakes that can arise from uneven construction. You’ll find that tasks which used to be frustrating and time-consuming become much more manageable. The precision offered by a laser tool means fewer adjustments, less material waste, and a final product that stands the test of time. For your backyard shed, this translates to a sturdy, reliable structure you can be proud of for years to come.
So Many Choices! Which Types of Laser Levels Are Best Suited for Building My Shed?
Okay, so you're sold on the idea of using a laser level. Great! But then you start looking, and wow, there are a few different types of laser levels out there. It can seem a bit confusing at first, but let's break it down. For a project like a backyard shed, you'll mostly encounter line lasers and perhaps rotary lasers, though rotary lasers are often for larger, professional sites. Many modern laser levels that can help are self-leveling laser devices, which is a fantastic feature. This means they automatically find and project a true level line, even if the device itself is on a slightly uneven surface. This saves a lot of fiddling around!
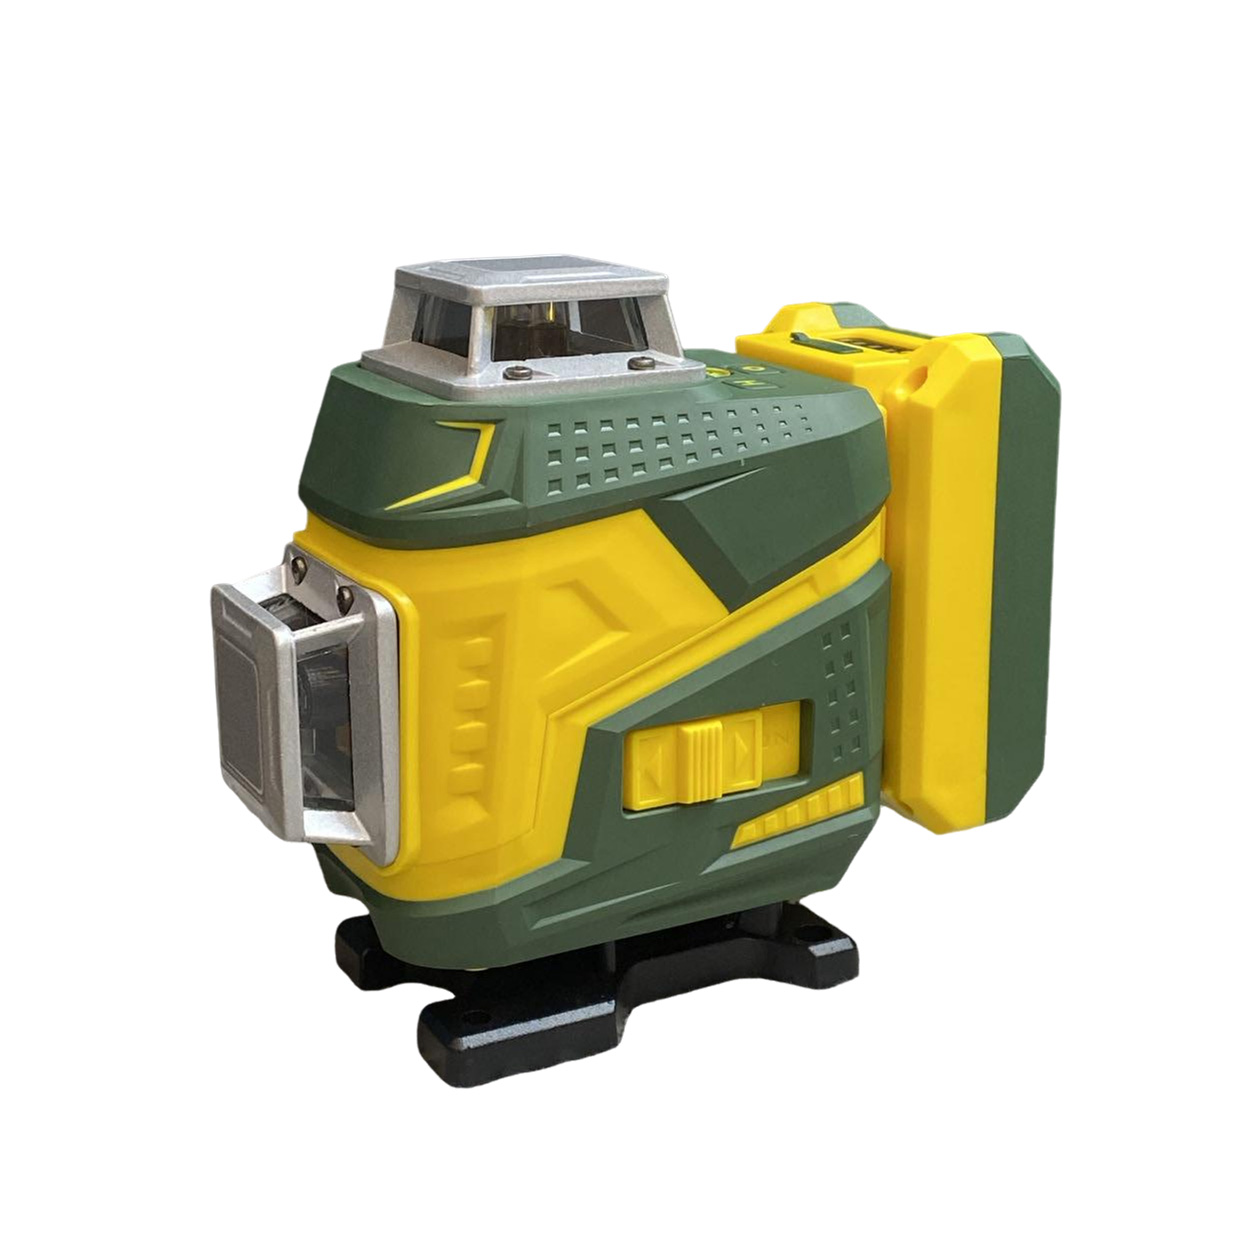
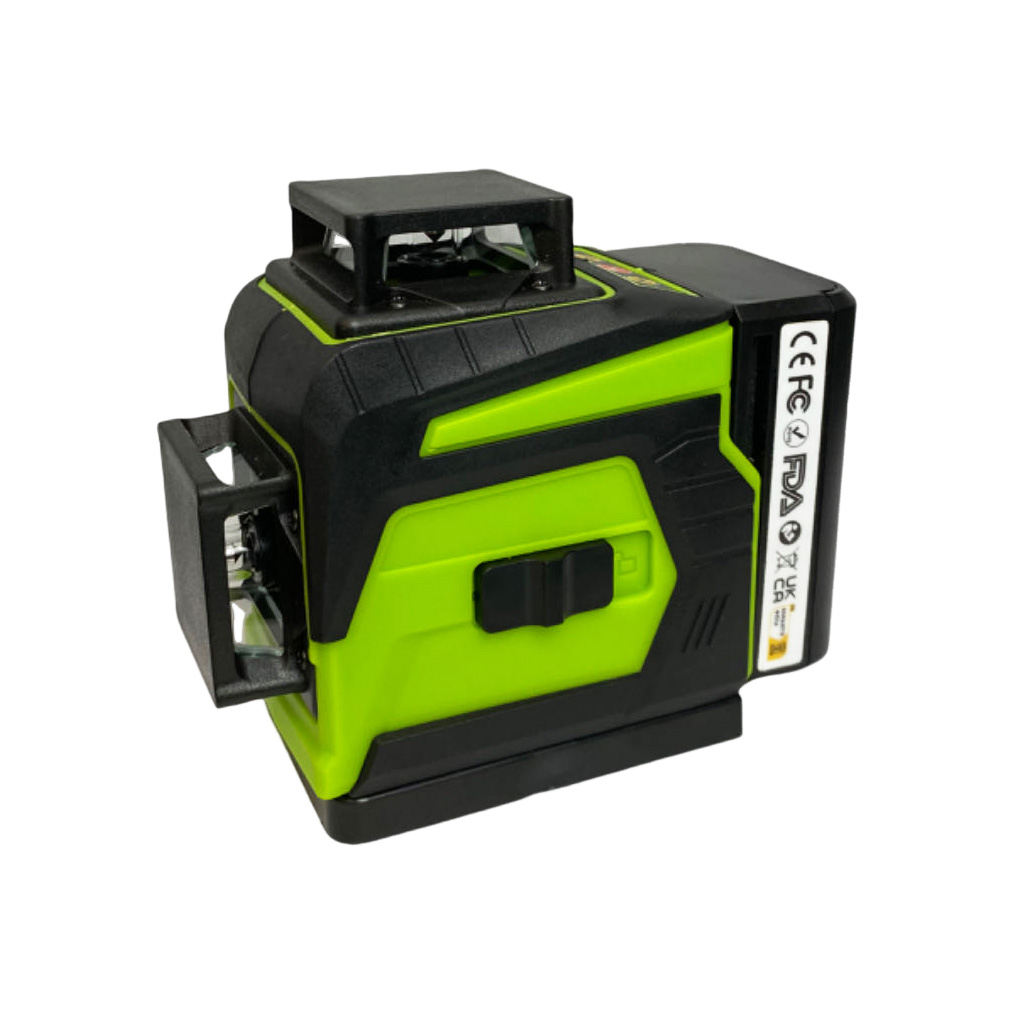
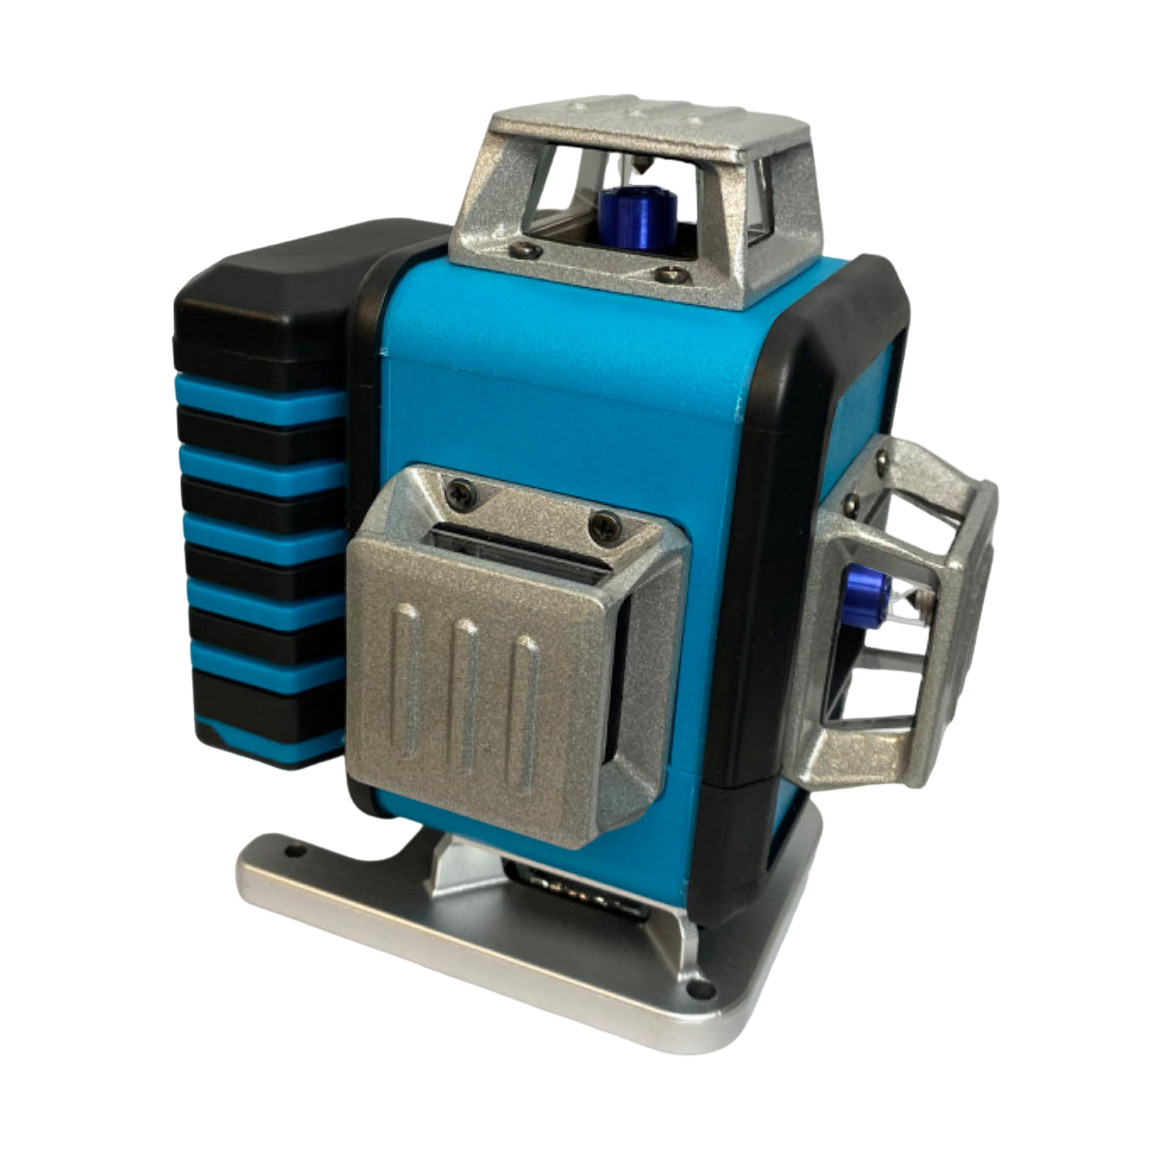
For most shed-building tasks, a self leveling cross line laser is incredibly useful. These project both a horizontal and a vertical laser line simultaneously, creating a crosshair. This is perfect for tasks like aligning and plumbing walls, installing cabinets, or even tiling if you decide to get fancy with your shed floor. Some models, like the Laser Level SG-LL12, offer multiple lines for even greater versatility. While brands like Bosch makes laser levels that are well-known, many other manufacturers, including factories like ours, produce excellent, reliable options that offer great value. For bigger outdoor projects, a self leveling rotary laser kit might be considered, as a rotary laser can project a line 360 degrees around a room or site, but for a standard shed, a good cross-line laser is often sufficient and more cost-effective.
When you're choosing the right laser level, think about the visibility of the laser beam. Green lasers are generally easier to see in bright conditions compared to red lasers, though they can sometimes be a bit pricier. Also, consider the range you need. For most backyard sheds, a laser level with a range of 50-100 feet is usually more than enough. Some laser levels that can help get the job done also come with a tripod or mounting accessories, which are really handy. Ultimately, the best suited laser for you will balance features, visibility, range, and your budget, ensuring you have the precision needed for your shed.
How Exactly Does Using a Laser Ensure My Shed Walls Are Perfectly Plumb and Floors Level?
It's one thing to say a laser level provides precision, but how does it actually help you make sure your shed walls aren't crooked and your floors are perfectly flat? Let's get practical. When you're using a laser, you're essentially getting a visual reference line that is perfectly level or plumb (perfectly vertical). For your shed floor or foundation, you'd set up your laser level – perhaps a self-leveling laser – and it will project a horizontal laser line all around the perimeter. You can then measure down from this line at various points to ensure your footings, concrete slab, or wooden joists are all at the exact same height. This is crucial because an unlevel foundation will throw everything else off.
When it comes to walls, you'll use the vertical laser line from your laser level. As you're framing each wall with studs, you can align the edge of your stud or the entire wall frame to this perfectly vertical laser beam. This takes away the need to constantly check with a traditional spirit level for every single piece, making the process faster and much more accurate. This is one of those levels that can help get your walls straight up and down, preventing that dreaded lean. The same principle applies to installing windows and doors – the laser line gives you a perfect reference to ensure they are square and level, which is essential for them to operate smoothly.
The beauty of using a laser is its consistency. A traditional bubble level can be misread, or you might not hold it perfectly. A laser beam, however, is unwavering. This consistency translates directly into the quality of your shed. No more guessing if something "looks about right." You'll have the confidence that your structure is built with a high degree of precision, which not only looks better but also contributes to the overall strength and durability of your backyard shed. It’s about making sure every component, from the ground up, is correctly aligned, and a laser is your best friend in this endeavor.
I've Heard About Laser Cutters; How Can They Revolutionize My DIY Projects?
Now, let's switch gears a bit and talk about another amazing laser tool: the laser cutter. While a laser level is all about alignment and precision in construction, a laser cutter is about shaping and creating with incredible detail. So, what is a laser cutter? At its core, it's a machine that uses a focused, high-power laser beam to cut or engrave materials. The laser essentially vaporizes the material along a precise path, which is controlled by a computer. This means you can create incredibly intricate designs and shapes that would be difficult, if not impossible, to achieve with traditional cutting tools.
For a DIY enthusiast, a laser cutter opens up a whole new world of customization and creativity. Imagine being able to laser cut custom decorative panels for your shed, intricate stencils for painting, or even personalized signs. The precision of a laser cutter is astounding; it can cut sharp corners, smooth curves, and tiny details with ease. This means you can take your DIY projects from simple and functional to unique and artistic. You can design your parts on a computer using design software, send it to the laser cutter, and watch as it brings your vision to life. It's a game-changer for anyone who loves making things.
The versatility of a laser cutter is another huge plus. Depending on the type and power of the laser, you can work with a wide range of materials (more on that next!). This makes it a fantastic tool not just for shed-related projects, but for all sorts of hobbies and even small business ventures. From creating custom gifts to prototyping parts, a laser cutter can significantly expand your making capabilities. The ability to produce laser-cut components quickly and accurately can also speed up your projects and improve the overall quality of your work.
What Kind of Magic is This? Which Materials Can a CO2 Laser Cutter Actually Handle?
It does seem a bit like magic, doesn't it? A beam of light slicing through materials! When we talk about laser cutters for DIY and small workshop use, we're often referring to CO2 laser cutters. These are quite versatile and are the most common type for working with non-metallic materials. So, what can a CO2 laser cutter actually cut or engrave? You'll be pleased to know it can handle a wide variety of materials like wood (plywood, MDF, balsa, hardwoods), acrylic (plastic), leather, fabric, paper, cardboard, and even some types of foam.
This versatility is what makes a CO2 laser so appealing. For your backyard shed project, you could laser cut wooden decorative elements, acrylic windowpanes with etched designs, or even custom leather tool holders. The precision allows for creating intricate patterns that would be a real challenge with a jigsaw or scroll saw. The edge finish on materials like acrylic is often flame-polished directly by the laser, giving it a clean, professional look without any extra work. The laser power and speed settings can be adjusted to either cut through the material or just engrave its surface.
However, it's important to know that standard CO2 laser cutters are generally not designed for cutting metals directly, especially thicker sheets. While some high-power CO2 lasers can cut thin metal (like very thin stainless steel sheets), and specialized fiber lasers are used for metal laser engraving and cutting in industrial settings, the typical DIY-friendly CO2 laser cutter excels with wood, plastics, and other organic materials. Always check the manufacturer's specifications for your specific laser machine to ensure you're using it safely and effectively with the right material type. Understanding these capabilities will help you get the most out of your laser investment.
Beyond Just Cutting, Can a Laser Engraver Help Personalize My Shed with Those Intricate Designs?
Absolutely! While a laser cutter is fantastic for making laser-cut shapes, many of these machines can also perform laser engraving. A laser engraver uses the same laser technology, but instead of cutting all the way through the material, it removes a very thin top layer to create a design, text, or image on the surface. This is where you can really add a personal touch to your backyard shed and other DIY projects. Think about custom signs with your shed's name, engraved inspirational quotes on wooden beams, or even detailed patterns etched onto tool handles.
The precision and detail achievable with laser engraving are remarkable. You can reproduce complex graphics, fine text, and even photographs onto various materials. This opens up endless possibilities for customization. For example, you could etch your favorite patterns onto wooden storage boxes for your shed, create personalized coasters for your shed's relaxation corner, or even engrave serial numbers or ownership marks on your valuable tools. The intricate designs that a laser engraver can produce can elevate a simple object into something unique and special.
Many laser machines are combination units, meaning they can both cut and engrave. This multifunctional capability is a huge advantage for the DIY enthusiast. You might laser cut a piece of wood to a specific shape and then use the laser engraver function to etch a design onto it. This process is controlled by computer software, allowing for precise replication of different designs. Whether you're aiming for a rustic, handcrafted look or a sleek, modern aesthetic, laser engraving provides a powerful tool to achieve your vision and make your shed truly your own. These engraving machines can transform ordinary items into personalized treasures.
Feeling Overwhelmed? How Do I Go About Choosing the Right Laser Machine as a DIY Enthusiast?
It's completely understandable to feel a bit overwhelmed when you start looking into choosing the right laser machine. There are quite a few factors to consider, especially for a DIY enthusiast or a beginner. First, think about the primary material type you plan to work with. As we discussed, CO2 laser machines are great for wood, acrylic, leather, and similar materials. If your main goal is metal laser engraving or cutting thicker metals, you'd need to look into more specialized (and often more expensive) fiber laser systems, though this is usually beyond typical DIY shed projects.
Next, consider the size of your workspace and the projects you envision. Laser machines come in various sizes, from small desktop units perfect for hobbyists to larger, floor-standing models. The bed size of the laser machine will determine the maximum dimensions of the material you can work with. Also, think about laser power. Higher wattage lasers can cut thicker materials and work faster. For a DIY enthusiast working with materials like 1/4-inch plywood or acrylic, a 40W to 60W CO2 laser is often a good starting point. Don't forget to factor in software compatibility and ease of use. Some machines come with user-friendly software, which is a big plus for a beginner.
Finally, budget is always a key consideration. Laser machines can range from a few hundred dollars for very small diode laser engravers (which have limited cutting capabilities) to several thousand for more robust CO2 laser cutters. It’s important to balance your needs with your budget. Look for machines that offer good durability and support. Reading reviews and joining online communities of laser users can provide valuable insights. Taking the time for choosing the right machine will ensure you get a tool that’s best suited for your various projects and helps you get the job done effectively for years to come. Remember, a good multifunctional machine can be a fantastic investment.

Can You Give Me a Step-by-Step Guide for Using a Laser Level in Shed Framing?
Okay, let's get down to brass tacks with a step-by-step guide on using a laser level for one of the most critical parts of building your backyard shed: framing the walls. This is where precision really counts to ensure your shed is strong and square.
- Set Up Your Laser Level:
- Place your laser level, ideally a self-leveling cross line laser, on a stable tripod or surface. Position it where the laser line (or lines) can project across the area where you'll be building your walls.
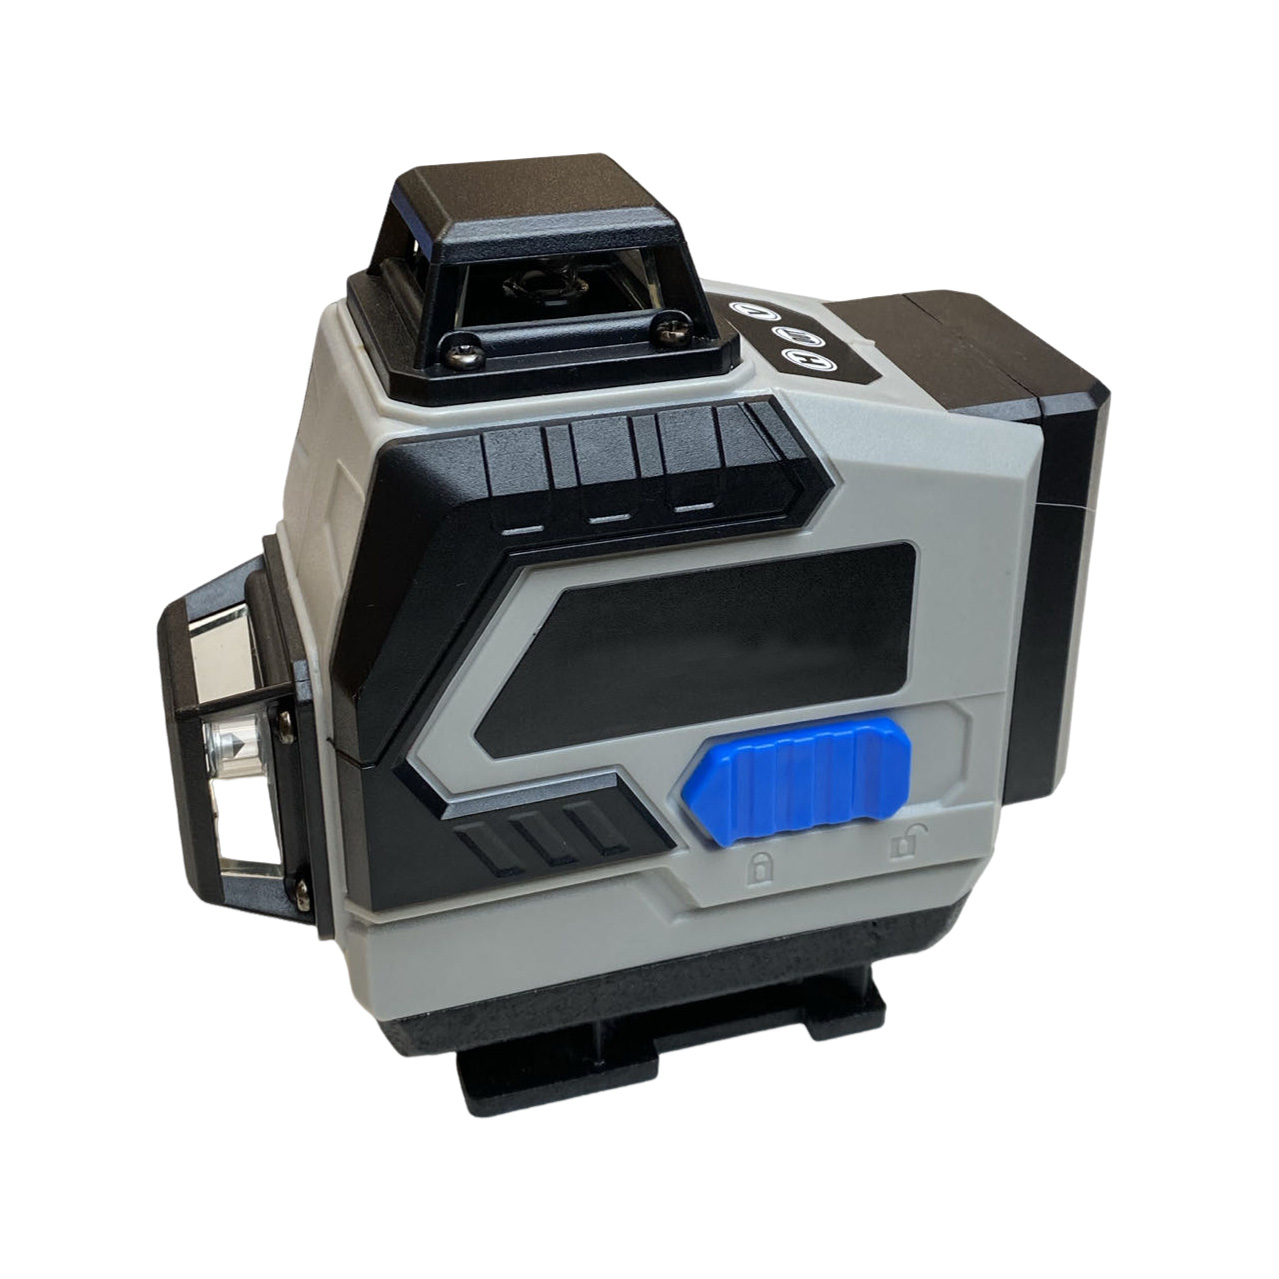
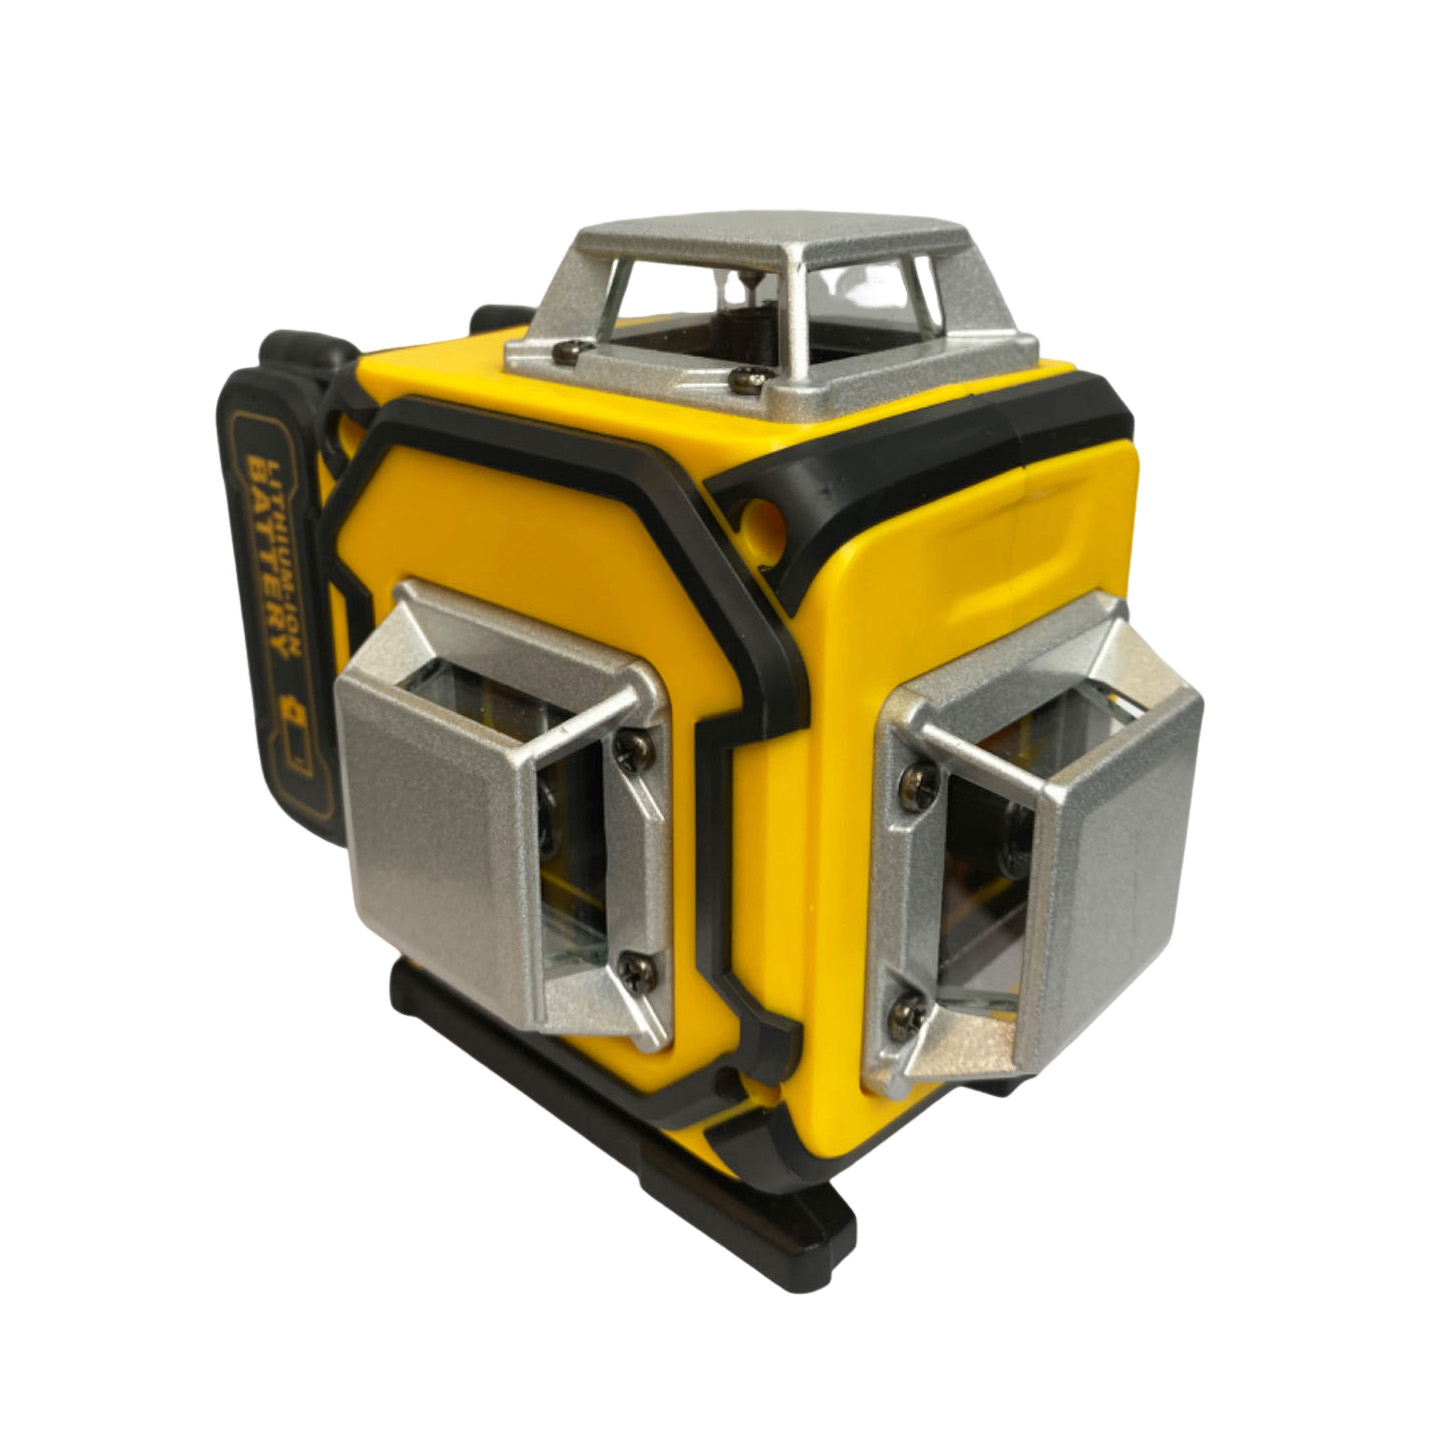
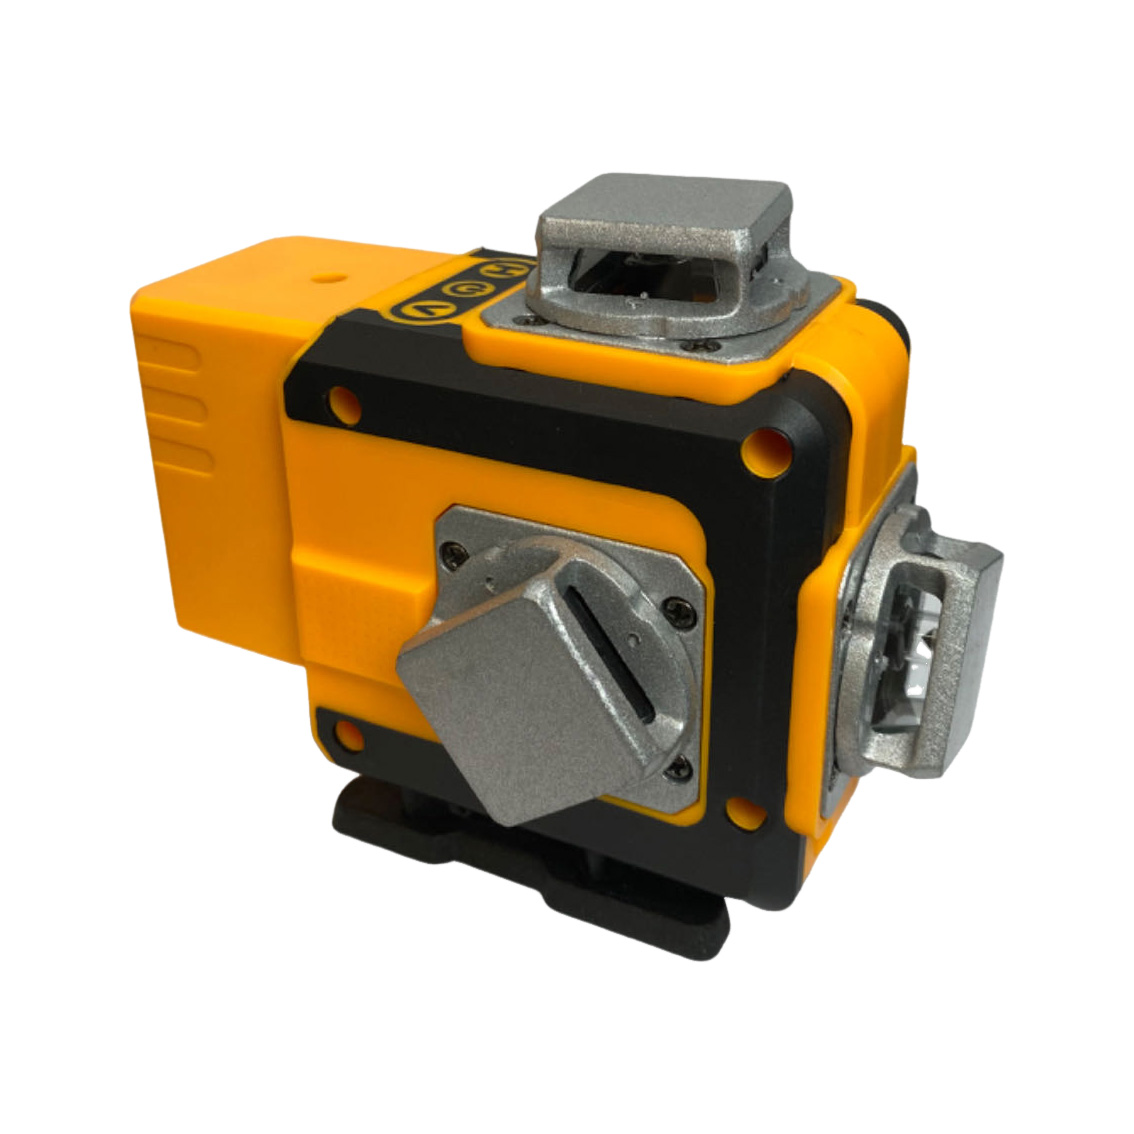
- Turn on the laser. If it's a self-leveling laser, give it a moment to settle and project a true level horizontal line and a plumb vertical line. Some models like our Laser Level SG-LL16-MX3 are designed for robust outdoor use and quick setup.
- Mark Your Bottom Plate:
- Your shed walls will typically have a bottom plate (the horizontal piece of lumber that sits on the foundation) and a top plate.
- Use the horizontal laser line to mark a consistent height on your foundation or subfloor where the top of your bottom plate should sit. This ensures the base of all your walls will be perfectly level with each other.
- Align and Secure the Bottom Plate:
- Position your bottom plate lumber according to your shed plans, aligning its top edge to the marks you made using the laser line. Secure it to the foundation.
- Plumb Your First Stud:
- Place your first vertical stud at one corner. Adjust the laser level (or use its vertical beam if it's a cross-line laser) so the vertical laser beam runs along one face of the stud.
- Adjust the stud until its edge is perfectly aligned with the vertical laser line. This means it's plumb. Secure it to the bottom plate.
- Position Subsequent Studs:
- Measure and mark the positions for your remaining studs on the bottom plate (e.g., every 16 or 24 inches on center).
- As you place each stud, use the vertical laser line to ensure it is perfectly plumb before nailing it in place. You can either move the laser for each stud or, if the laser line is long enough, use it as a continuous reference. Using a laser target can sometimes help make the laser beam more visible.
- Install the Top Plate:
- Once all studs for a wall section are in place, position the top plate on top of them. You can use the horizontal laser line again, projecting it at the desired height for the top of the wall, to ensure the top plate is level all the way across before securing it to the studs.
By following these steps, using a laser will help you get the job done accurately and efficiently, resulting in perfectly straight and plumb walls for your backyard shed. This methodical approach, guided by the precision of a laser level, is key to a successful build.
From Unique Cake Topper Ideas to Custom Shed Decor: What Creative Laser-Cut Projects Can I Explore?
The amazing thing about laser-cut technology is its sheer versatility for creative expression. While you might initially think of it for practical parts, the ability to create intricate details opens up a world of decorative possibilities. You mentioned a cake topper – that's a perfect example! A laser cutter can produce incredibly delicate and personalized cake topper designs from materials like wood or acrylic, far beyond what you could easily make by hand. Now, how does this translate to your backyard shed or other DIY projects?
Think about applying that same level of customization and precision to your shed's aesthetics. You could design and laser-cut decorative grilles for windows or ventilation openings. Imagine intricate floral patterns or geometric different designs cut into thin wood panels to create unique wall art or accents. You could make custom laser-cut house numbers for your shed, or even elaborate stencils for painting patterns directly onto the shed walls or floor. The possibilities for creating intricate and personalized elements are virtually limitless.
Beyond purely decorative items, laser-cut components can also be functional yet beautiful. Consider laser-cut wooden brackets for shelves that feature an ornate design, or custom tool hangers with labels etched by a laser engraver. You could even create laser-cut templates or jigs to help with other DIY tasks, ensuring consistent accuracy. The ability to take a digital design and turn it into a physical object with such precision means you can truly add a personal touch to every aspect of your project, moving beyond what’s available off-the-shelf at places like Home Depot and crafting something truly unique. This technology empowers you to be both an artisan and an engineer in your workspace.
Safety First! What Are the Essential Precautions When I'm Operating Laser Equipment?
This is a really important topic. Whether you're using a laser level or a more powerful laser cutter / laser engraver, safety should always be your top priority. While a laser level typically uses a lower-power laser, you should still avoid staring directly into the laser beam, as it can be harmful to your eyes. Always read and follow the manufacturer's safety instructions for your specific device.
When it comes to laser cutters and engraving machines, the safety precautions are more extensive because the laser used is much more powerful – powerful enough to cut and etch materials.
- Eye Protection: This is non-negotiable. You MUST wear appropriate safety glasses specifically designed to filter the wavelength of the laser you are using. The enclosure of many laser machines often has protective viewing windows (usually made of acrylic that blocks the laser light), but it's still good practice to wear glasses, especially if the lid is ever opened during operation (which should be avoided).
- Ventilation: Laser cutting and engraving can produce smoke and fumes, some of which can be harmful depending on the material type being processed (e.g., cutting plastic can release unpleasant or toxic fumes). Ensure your laser machine is properly ventilated, ideally with an exhaust system that vents fumes directly outside or through a specialized filter. A good ventilation system is crucial for your health and to protect the machine's lens and optics.
- Fire Safety: Because the laser is essentially burning away material, there's a risk of fire, especially with flammable materials like wood or paper. Never leave a laser cutter unattended while it's operating. Keep a fire extinguisher rated for Class A, B, and C fires nearby.
- Material Safety: Be aware that some materials should NEVER be cut with a laser because they release highly toxic gases (e.g., PVC or vinyl which releases chlorine gas). Always research the material you plan to use and ensure it's safe for laser processing.
- Machine Enclosure: Most reputable laser cutters come with an interlocked enclosure, meaning the laser will not fire if the lid is open. This is a critical safety feature. Never bypass these interlocks.
By taking these precautions seriously, you can ensure a safe and productive experience with your laser equipment, allowing you to focus on the creative possibilities without compromising your well-being.

How Do I Find High-Quality Tools and Why Does Partnering with a Reliable Laser and Power Tool Factory Matter?
As someone like Mark Thompson, who values quality but also seeks competitive pricing, finding the right supplier for tools, whether it's a laser level or other power tools, is key. You want high-quality equipment that offers durability and a long lifespan, and you want to ensure it meets safety standards with proper certifications (like CE or UL). This is where partnering with a reliable factory, like ours at SavageTools - China OEM Lithium Power Tools Manufacturers, Factory, can make a significant difference. A dedicated factory often has more control over the quality of materials and the manufacturing process from start to finish.
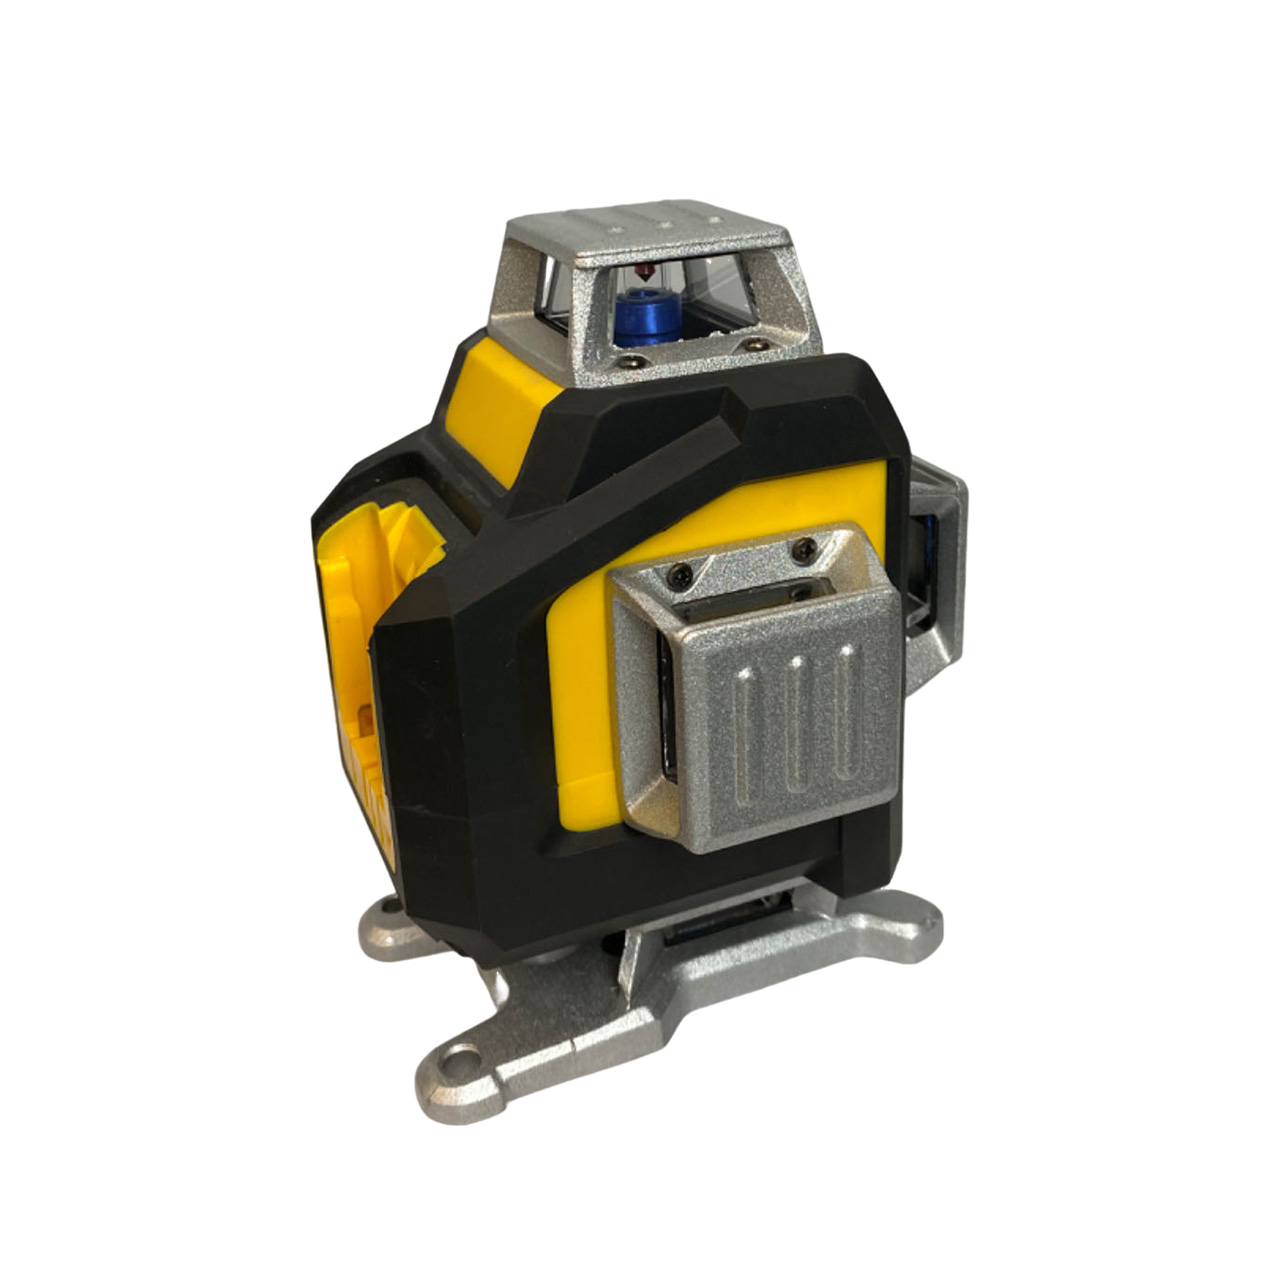
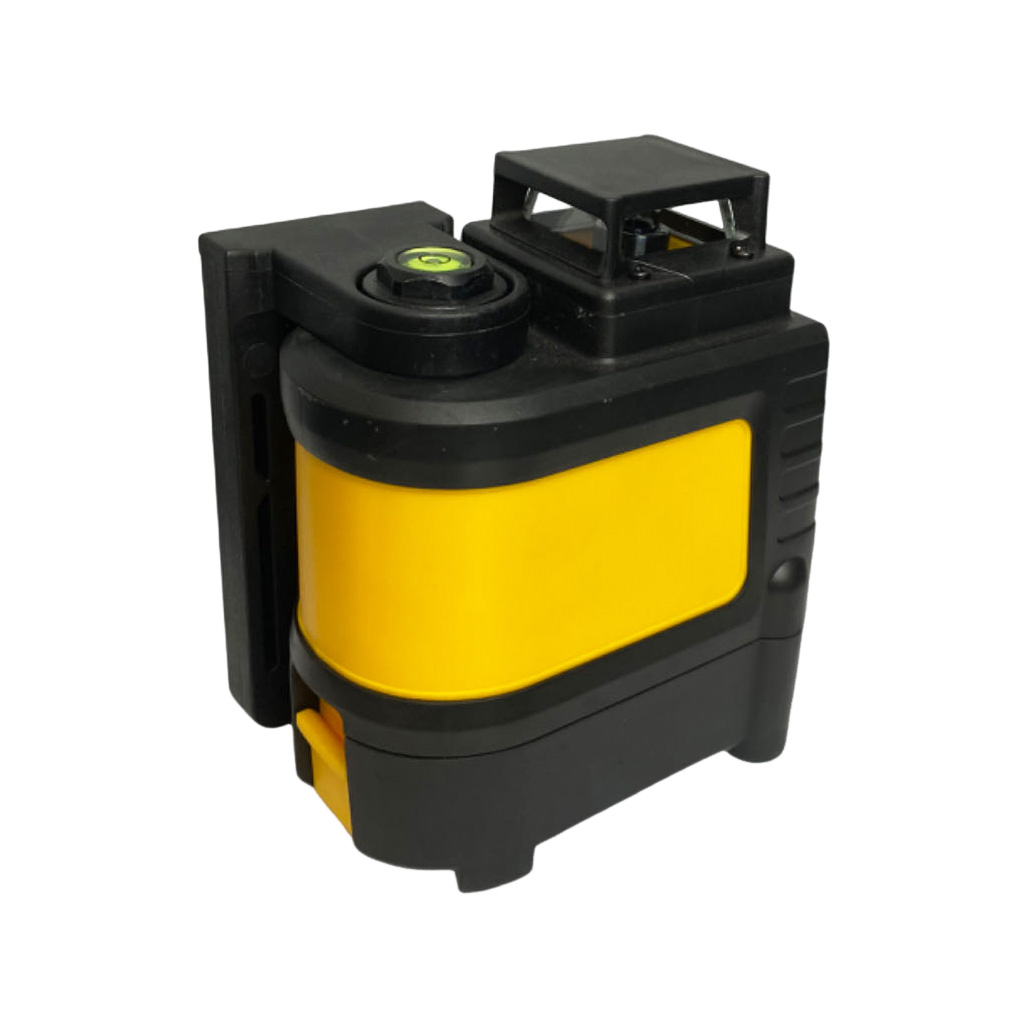
When you're sourcing tools, especially for a business that resells to hardware stores or contractors, consistency is vital. A good factory invests in quality inspection throughout production. This helps to minimize issues like the occasional certificate fraud Mark has worried about, because a reputable manufacturer will have legitimate and verifiable certifications. We understand that shipment delays can be a major pain point, potentially causing missed sales seasons. That's why established factories often have more robust logistics and communication systems in place to provide more reliable delivery schedules and clearer updates. For instance, our Laser Level SG-LL02-MU1 is built with attention to these details.
Moreover, direct communication with a factory, even with a sales representative, can be more efficient when the representative is well-connected to the production and technical teams. While Mark might be knowledgeable in sales but lacks deep technical expertise, a factory can often provide better technical support and information about the laser tools or power equipment. Look for suppliers who are transparent, responsive, and willing to build a long-term relationship. Exhibitions are a great way to meet potential suppliers, but also thorough online research, checking for factory credentials, and asking for samples or small trial orders can help you gauge their reliability before committing to larger purchases. The goal is to find a partner who helps your business thrive by providing dependable, high-quality tools. This meticulous approach applies to finding a good laser or any other power tool.
Wrapping Up: Your Journey to Precision and Creativity
Well, we've covered a lot of ground! From understanding how a laser level can help you build a perfectly square and sturdy backyard shed to exploring the creative magic of laser-cut designs with a laser cutter or laser engraver, it's clear that laser technology offers incredible benefits for any DIY enthusiast or professional. The precision, efficiency, and customization these tools provide can truly elevate your projects.
Remember, I'm Allen, and at our factory, we're passionate about producing high-quality tools, including a range of Cordless Lithium Power Tools and Equipment and precise laser levels, that help people like you achieve amazing results. We believe that with the right tools and a bit of know-how, anyone can tackle ambitious projects and bring their creative visions to life.
Here are the key takeaways from our discussion:
- Laser Levels are Essential for Precision: For projects like a backyard shed, a laser level (especially a self-leveling laser) is indispensable for ensuring foundations are level and walls are plumb, saving time and preventing errors.
- Laser Cutters Unleash Creativity: A CO2 laser cutter or laser engraver can revolutionize DIY projects by allowing you to create intricate designs and laser-cut parts from various materials like wood and plastic.
- Choose the Right Tool for the Job: Understand the different types of laser levels and laser machines (CO2, UV, fiber, etc.) and select one based on your project needs, material type, workspace, and budget.
- Safety First, Always: When operating any laser equipment, especially laser cutters, prioritize safety by using proper eye protection, ensuring adequate ventilation, and being aware of fire hazards.
- Quality and Reliability Matter: Whether you're a DIY enthusiast or a procurement officer like Mark Thompson, sourcing high-quality, certified tools from reliable manufacturers will ensure better performance, durability, and peace of mind.
Thank you for joining me on this journey into the world of laser tools. I hope this comprehensive guide has been informative and inspires you to incorporate these amazing technologies into your next project. Happy building, and may all your lines be level and your cuts precise!
Post time: 6 月-06-2025